
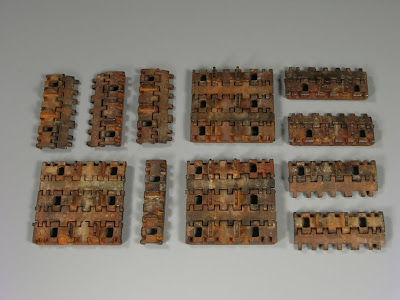
Let's go to paint the spare links today.
Use tape to keep the links in position to be painted with Airbrush. Use a dark brown color, Tamiya or Mr Hobby could be perfect. Then, using the range of Lifecolor to make rust, paint different shades in some links.

 As soon as it is dry, apply a coat of Worn Effects to create small chips.
 Now apply the white color, Tamiya one mixed with a 40% of Gaianaotes lacquer thinner. Don't apply a heavy coat, just a little soft. With heavy coats is more diffciult to create small chipping.
 After you paint it, use water and a flat hard brush to remove part of the white paint. before, you made humidify the surface with a little water, and wait few seconds until the white paint get fragil and ready to work.
 Now glue the links to the turret with Super Glue. the rest of the weathering will be done with them in place.
 use differnet shades of washes and Streaking grime colors and repeat the same proces like in the rest of the tank, but less intense.

 You can repaint some chips if you don't like too much the look. Also, you can add some Streaking Rust and finally some highlight with white oil to refoirce the contrast.
 With few steps the look is very realistic. Not needed too much steps and could be more than anought for a scale like 1/48 or 1/35.
 Compare the size of the spare links with my fingers....
 ...and see how effective can be this technique in a close view.
Do you like it? I hope. The next chapter will be the last one for sure. Just mud and dust and final touches. But I thought that this subject deserved a chapter for it self.
Thank you very much one more time for follow this blog.
...
.jpg)
.jpg)
.JPG)
.JPG)
.JPG)
.JPG)
.JPG)
.JPG)
.JPG) And then...damp them with a drop of turpentine.
And then...damp them with a drop of turpentine..JPG)
.JPG)
.JPG)
.JPG)
.JPG)
.JPG)
.JPG)
.JPG)
.JPG)